Ophanim
| plush | | Choly Knight | | self drafted |
Featured Image
Gallery
References
Maker’s Notes
Pattern
Doughnut pattern by Choly Knight + self drafting
Materials
| Part | Material | Amount/Cost |
|---|---|---|
| body | Shannon cuddle red | 75x75cm: ~8 |
| fire | Shannon cuddle sky blue | ?: ~\3 |
| wings | Shannon cuddle royal blue and purple | 100x75cm: 10 |
| detailing | embroidery thread + felt | ?: ? |
All bought from plush addict
Time
Over a month
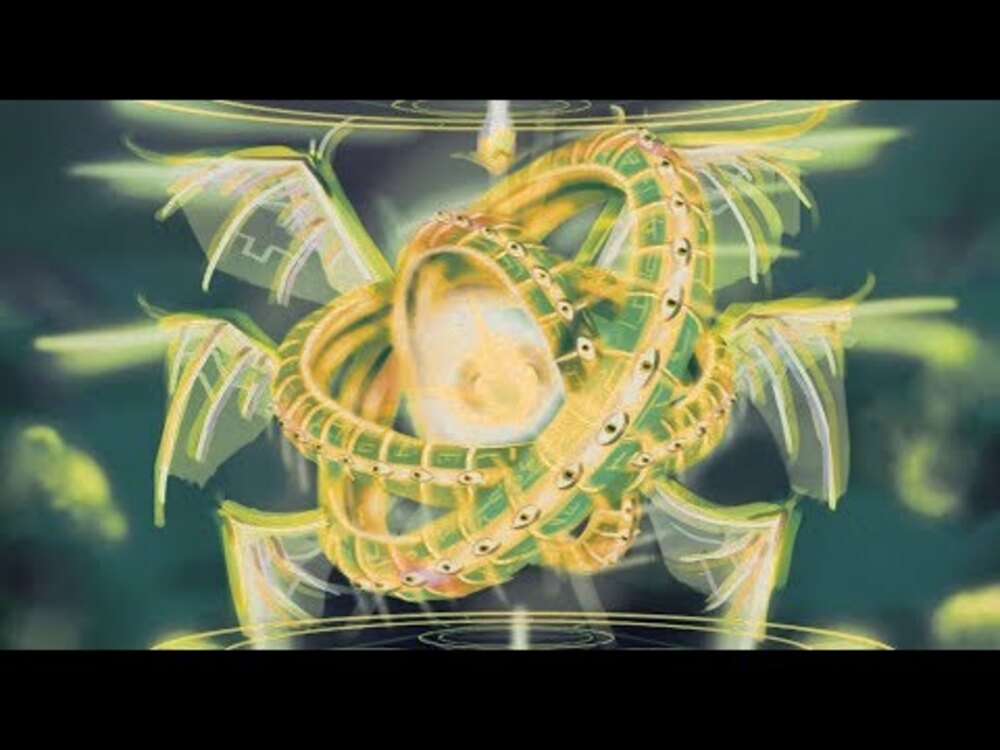
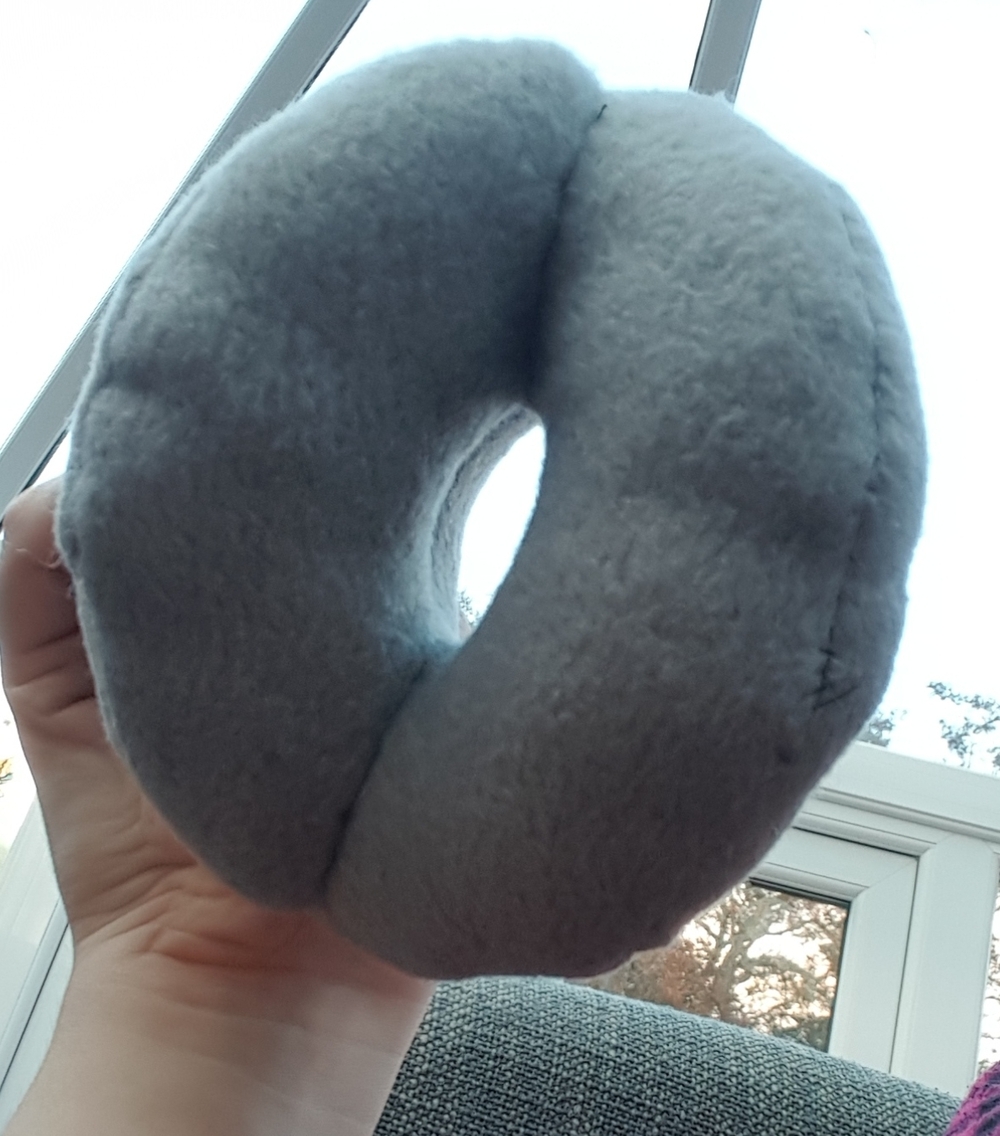
I wanted to build an angel, something inspired by the Ophanim. These angels are the eye covered wheels that move next to the winged Cherubim, beneath the throne of God in Daniel 7. They are also referenced in Ezekiel.
The body
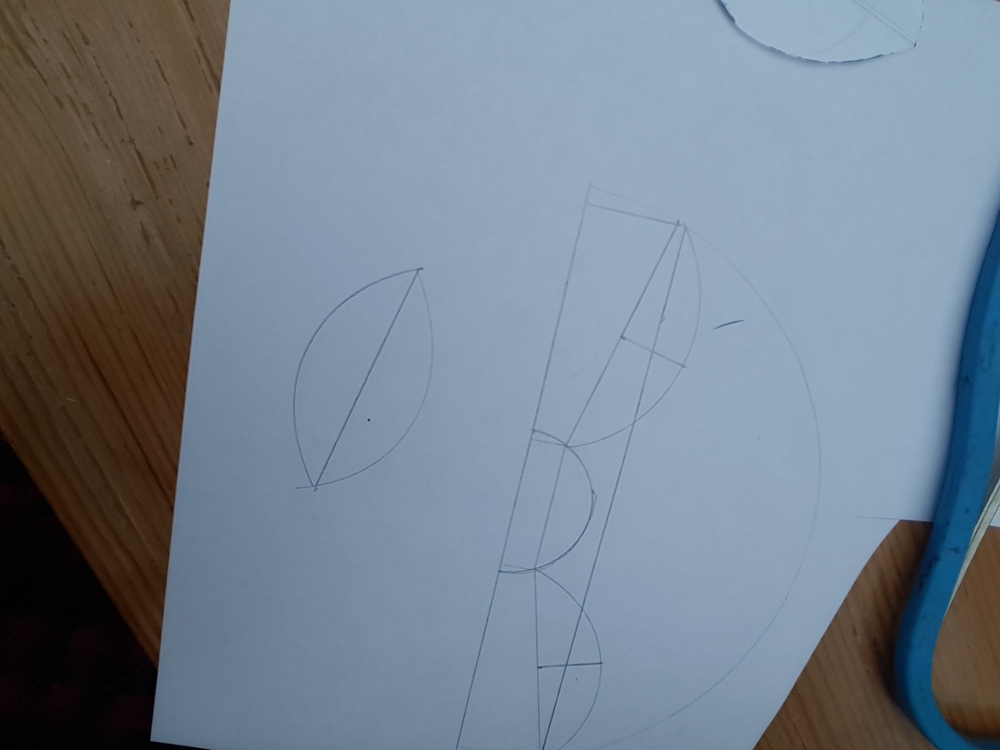
To start I worked with the doughnut pattern by Chloy Knight. I used ladder stitch to attach an arc for the interconnected part, but quickly realized that the arc would have to fit the curve of the main doughnut
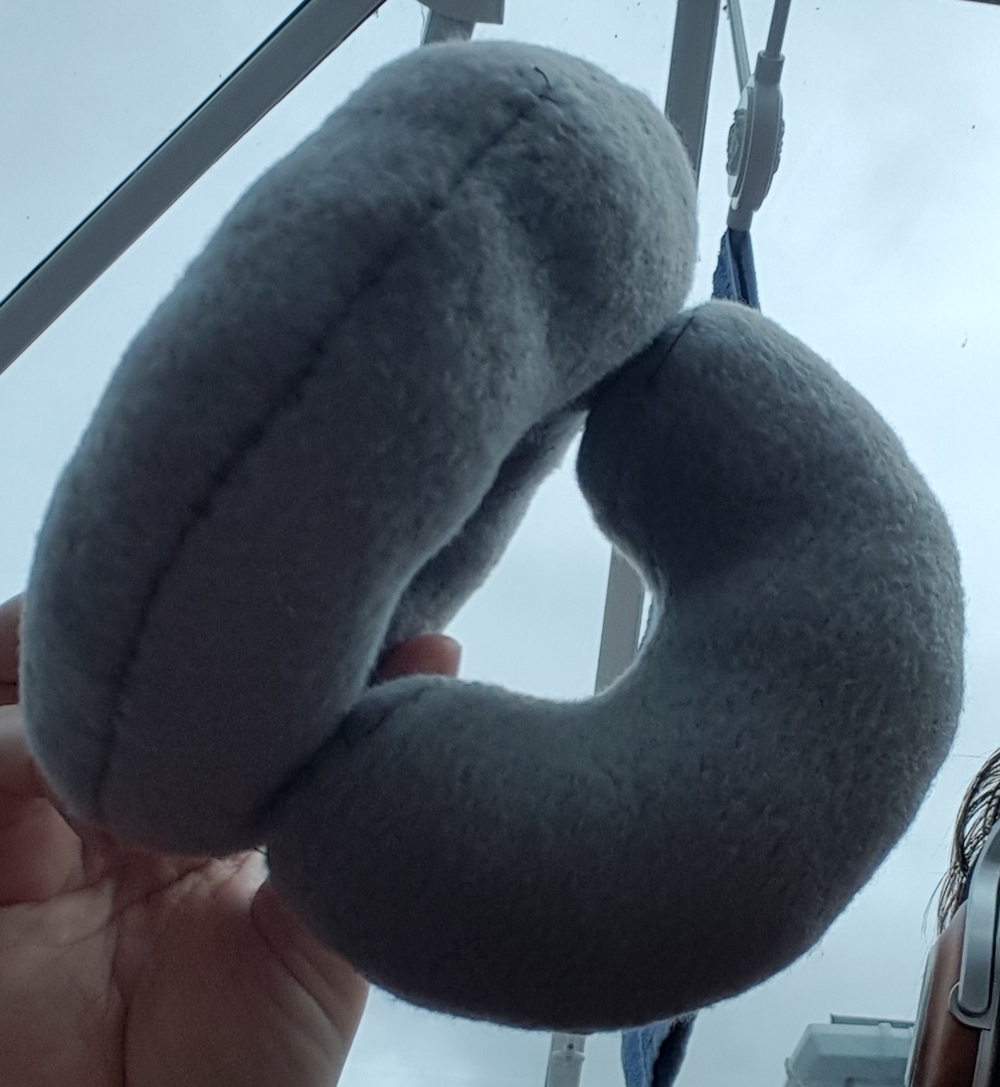
This is what the pattern for the second prototype sorta looks like
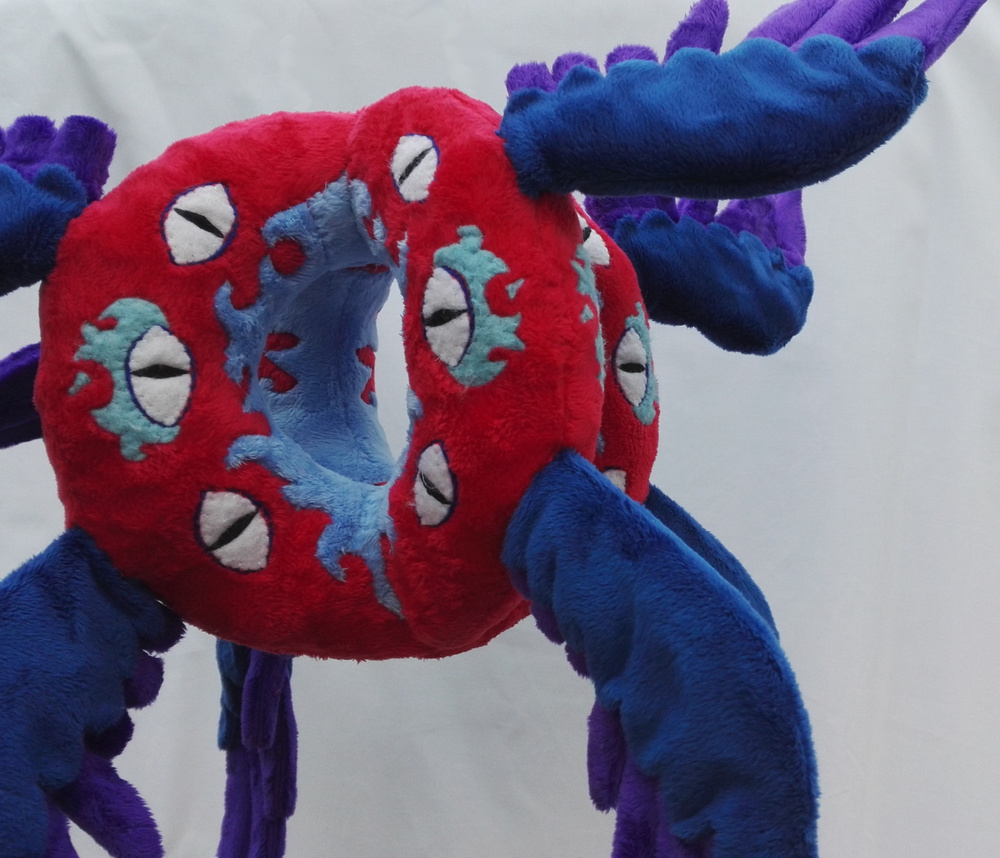
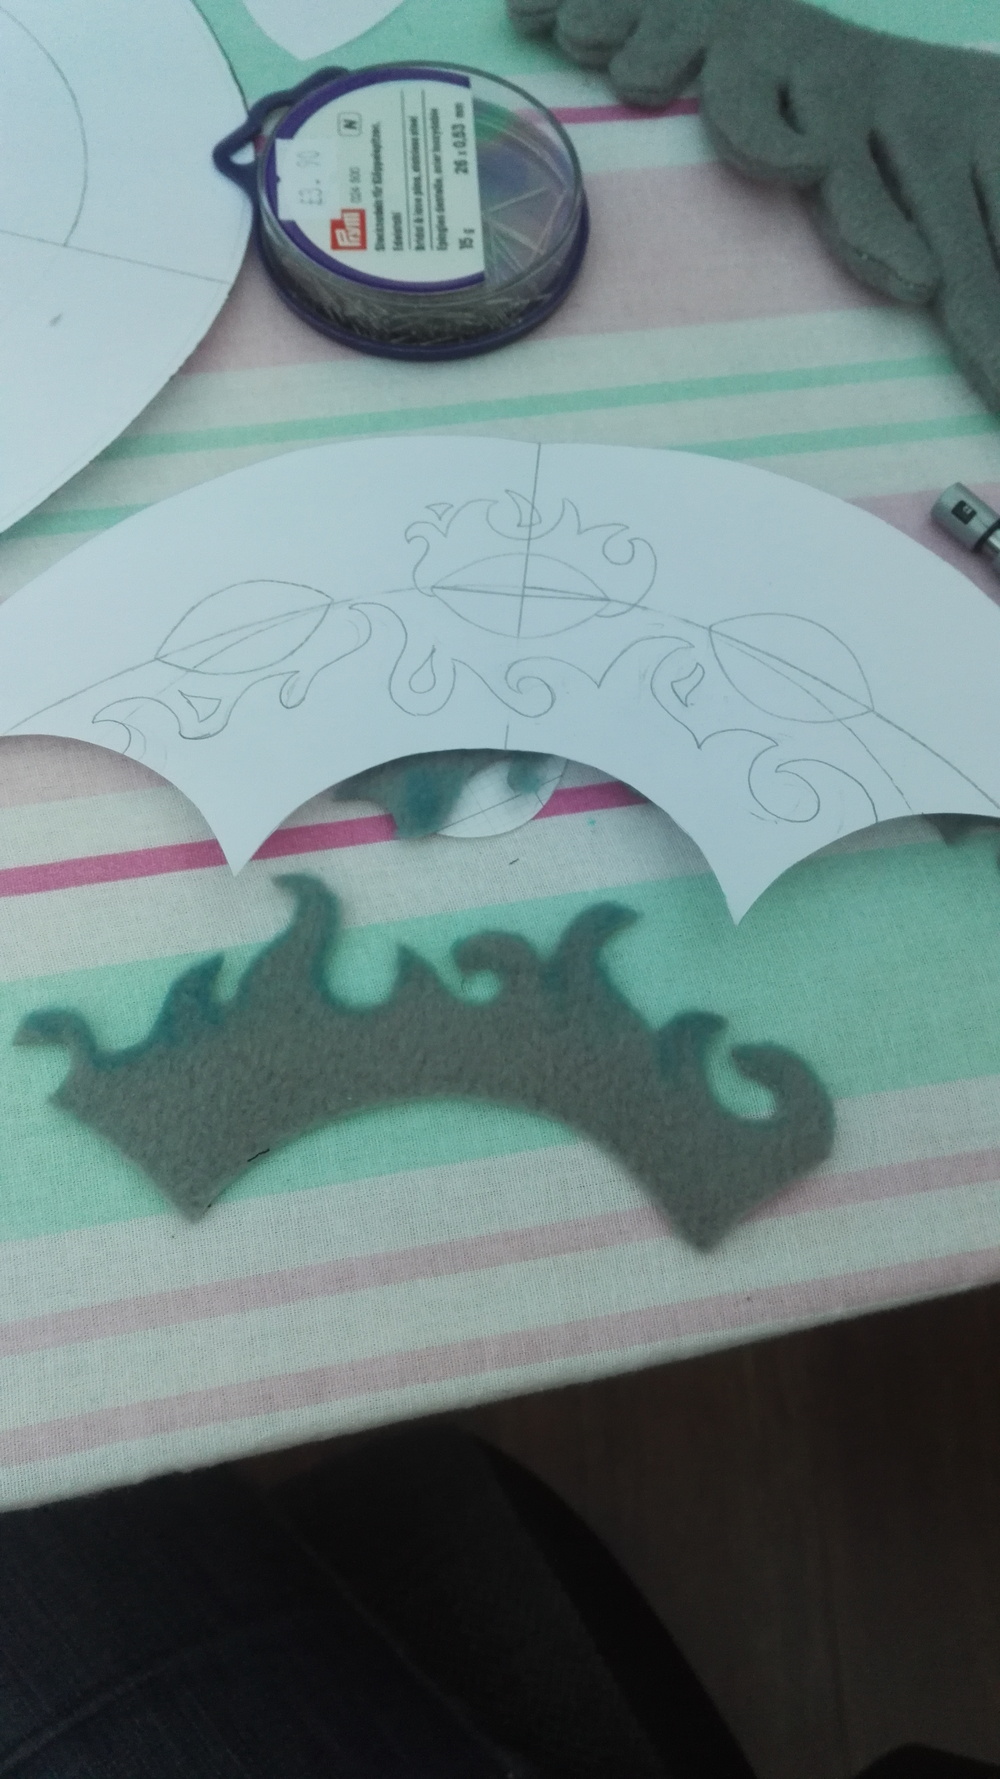
Applique and embroidery
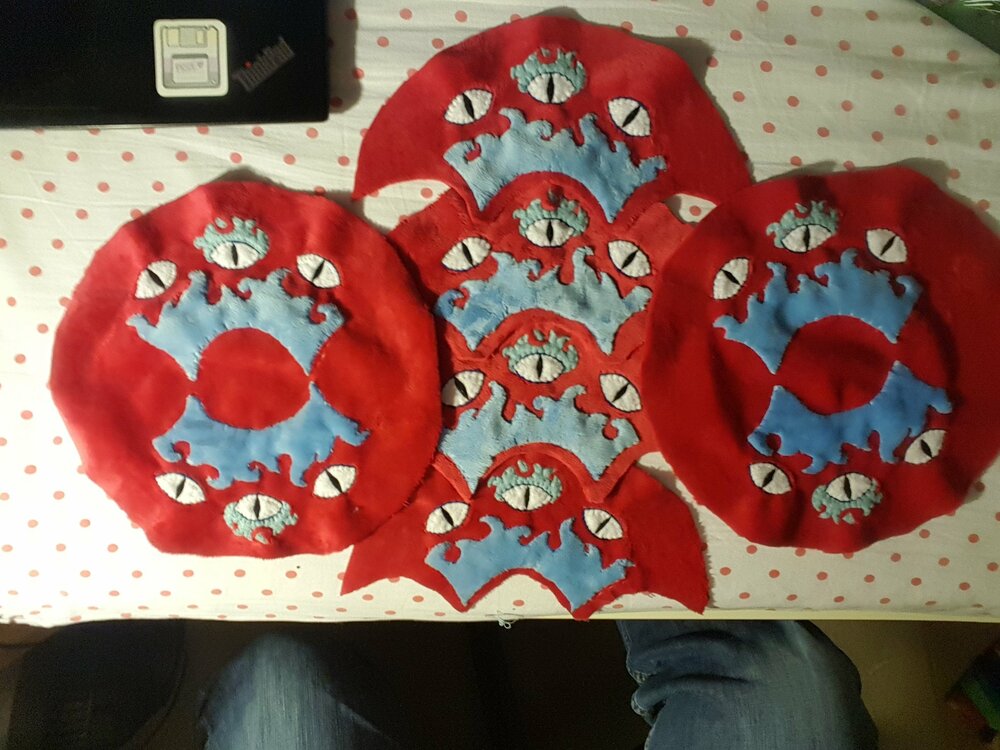
Once that was settled I made it larger and started designing the applique fire and embroidery that was going to go on each side
Once the embroidery was designed, sewing it all on by hand took the majority of the making time. I used washable glue to stick the blue fire onto the red body parts before carefully sewing them all on. I was worried that the way minky looses its fur at the edges would make the tips of the fire look bad, however I’m very happy with how it has turned out after giving it a resiliency test by rubbing it and washing it to get the glue out. The eyes are further embroidery with white felt outlined by stem stitch. I am quite unhappy with the gapping that has appeared after stuffing, but I’m not sure how to fix that if I do something similar in the future. Overall I may have overstuffed the final product as the center doughnut is noticeably oval shaped instead of being a straight circle due to stretch
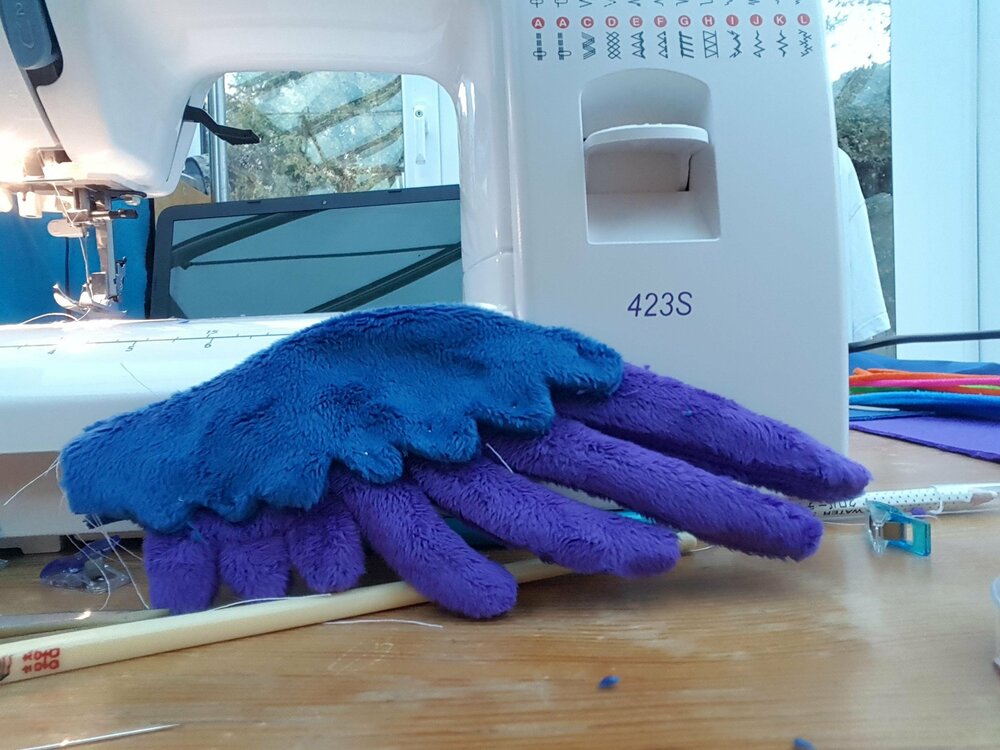
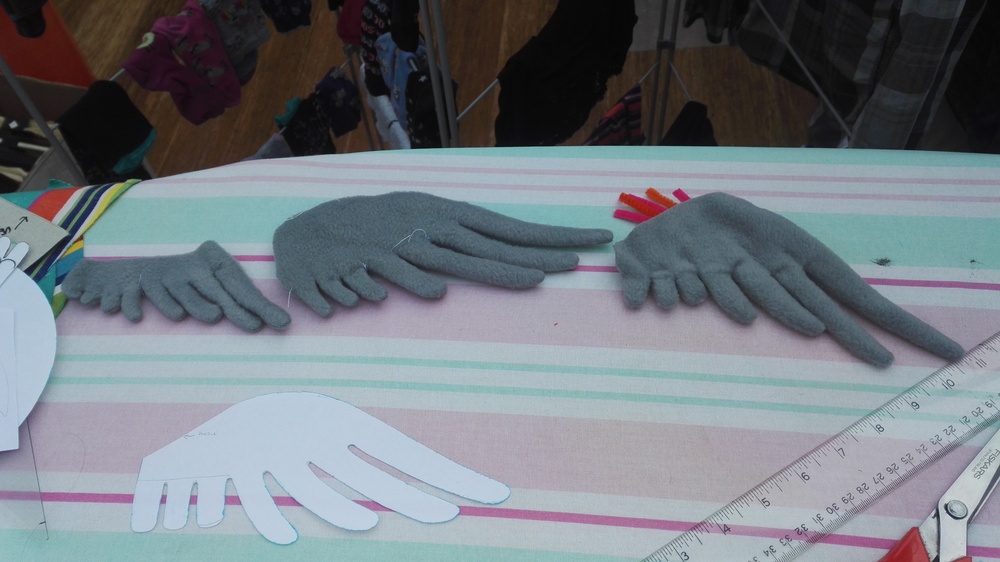
The wings
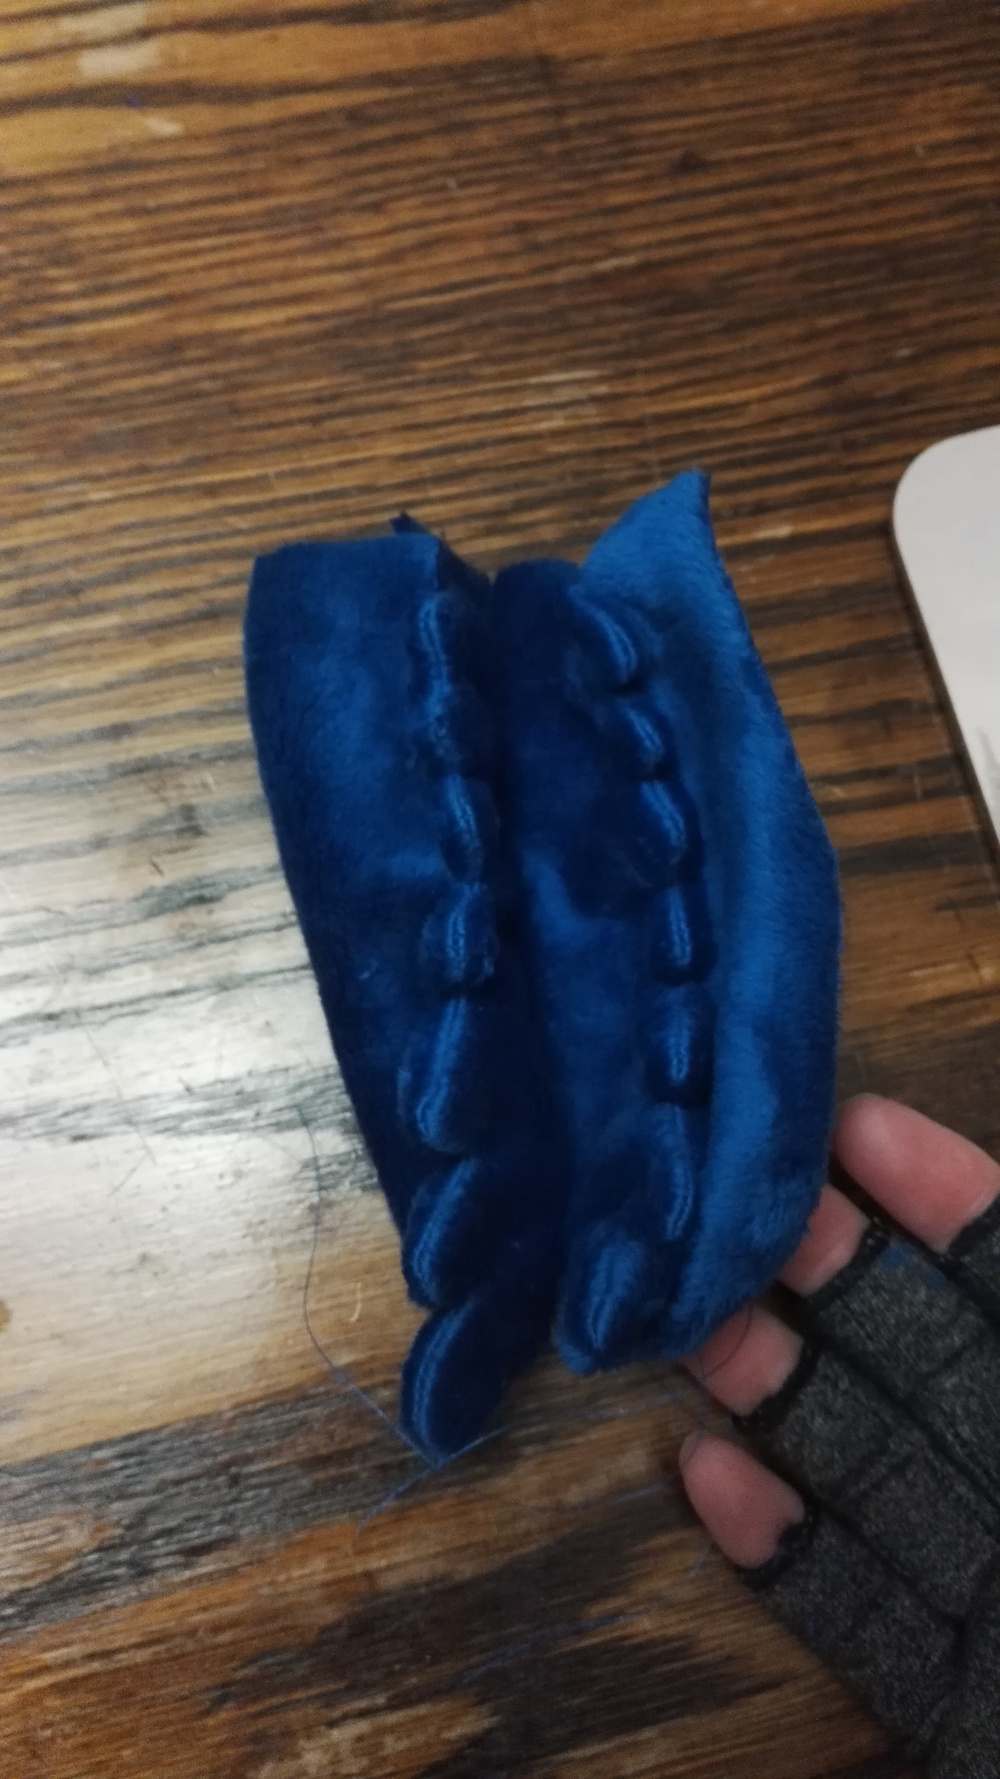
The wings took the most prototypes to get the shape that I wanted right, I think it ended up being 4 or 5 prototypes. It was also challenging to figure out how to pattern the top part to get the effect that I wanted.
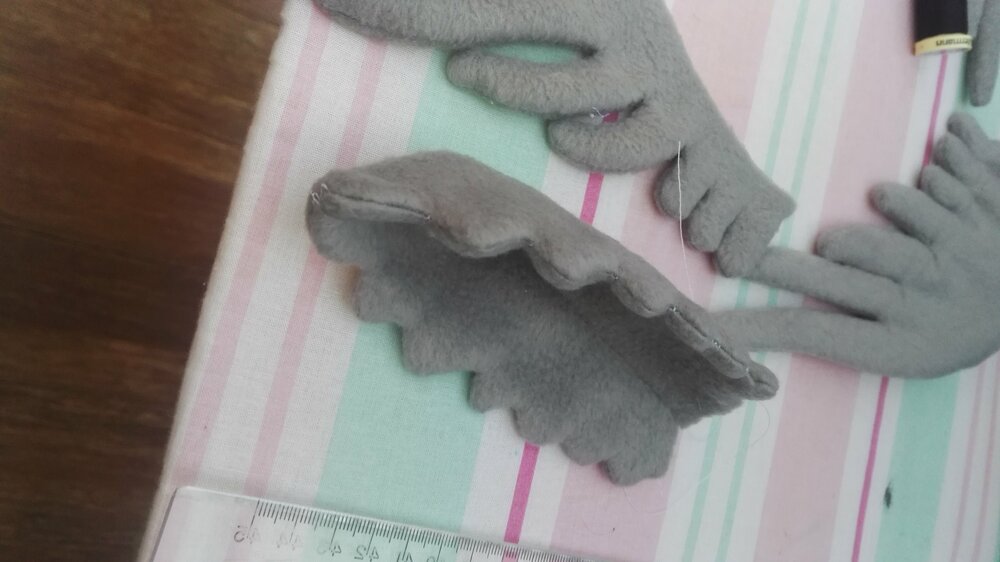
As you can see I settled for a kind of sandwich with a smaller part inside a larger part, and the good sides facing out so that I could get that layered effect. I then ladder stitched this top half onto the bottom after filling the bottom with pipe cleaners. This means that this plush should only be gently wiped down if it gets dirty, as the pipe cleaners will rust.
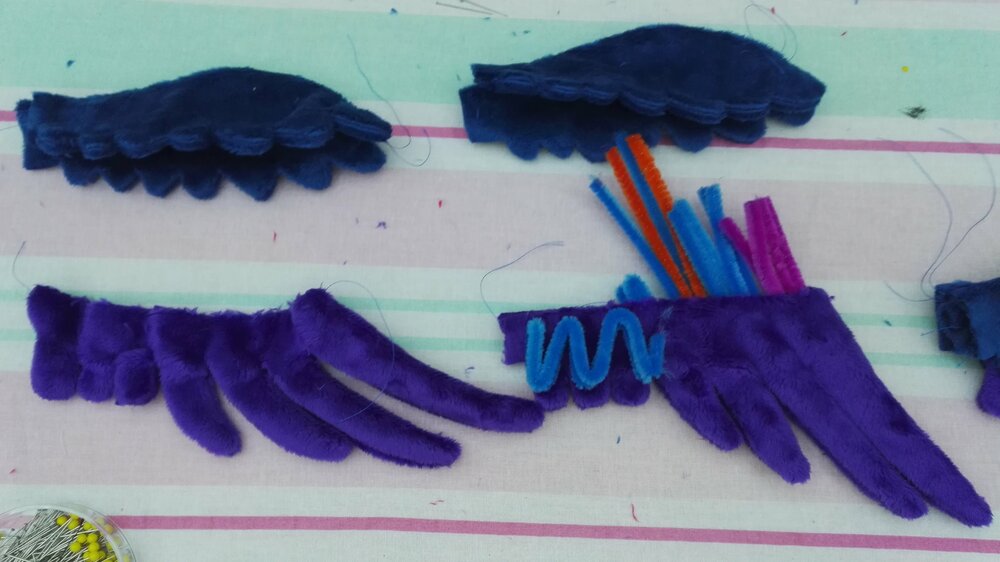
This picture shows the pipe cleaners sticking straight up, but you should weave them together and flat so that they don’t get in the way.
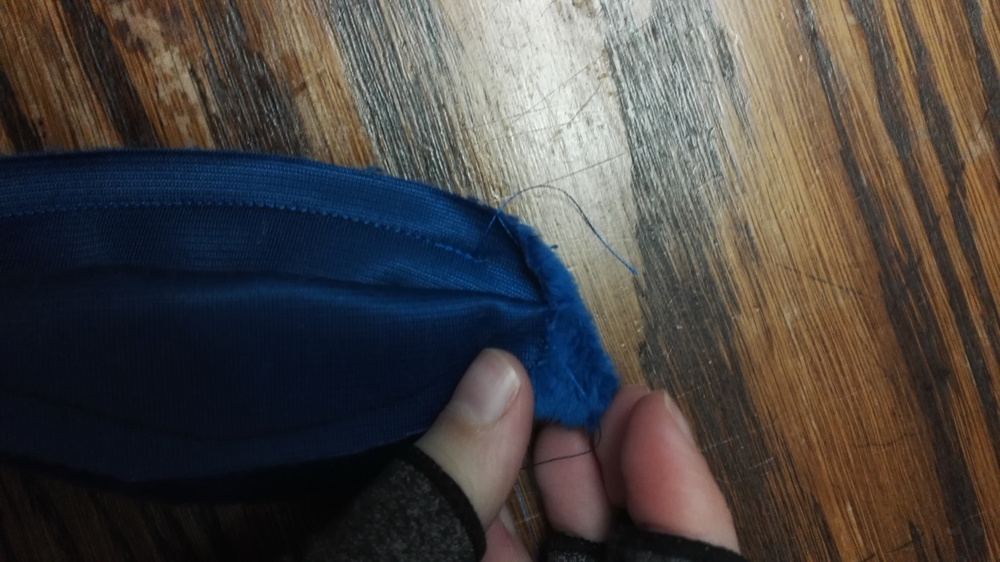
To sew the top part of the wings, first sew both parts along the bumpy edge with good sides facing. (this is also how you do the bottom part)
Then turn and sew the straight inside edge. Stop just before you reach the tip because it gets awkward with the machine.
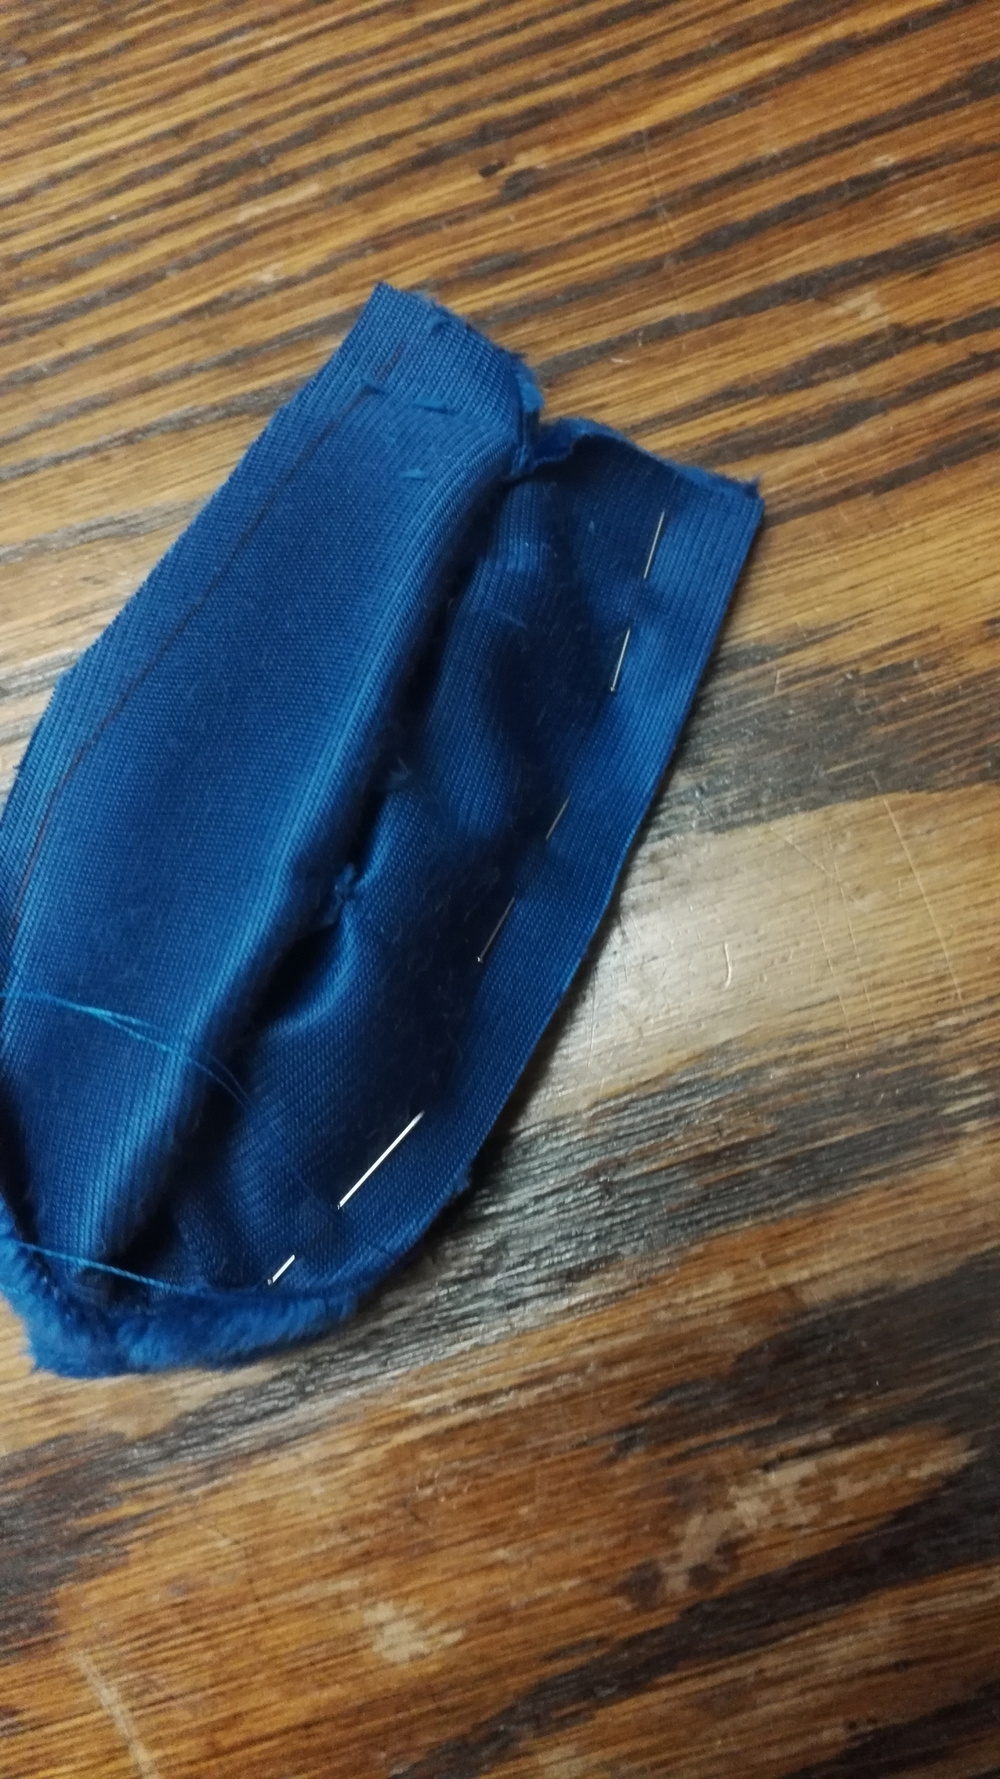
Turn again to sew the top curved edge, make sure to get the really nice shape with the tip that matches and joins up to the bumpy edges.
Finally, hand sew the rest of the straight edge right up to the tip. This will then look nice when you turn it.
After filling with pipe cleaners and ladder stitching under the bumpy edges, it should look like this.